Well, it’s been longer than expected since my last post about the Snootlab AirPi – which I closed with, “the next step will be to get communication going with a PC, and send & receive text messages…”
So here we go!
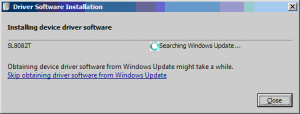
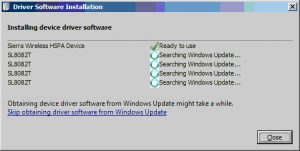
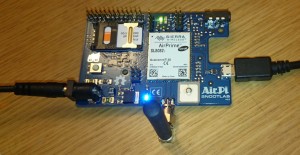
I’m using Windows-7 Professional (64-bit). Plug in the AirPi’s USB, and Windows does its thing with installing the drivers:
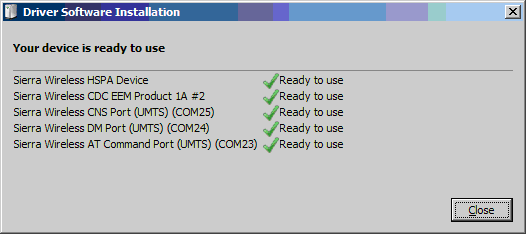
And, finally:
As the last line says, the AirPi AT Commands can now be accessed on COM23 (the number will vary according to what’s available on the particular PC in question).
The Sierra Wireless SL8082T module on the AirPi supports both standard GSM AT Commands, and proprietary Sierra Wireless commands. The full AT Command set is described in the AT Commands Interface Guide – downloadable from the Sierra Wireless site.
To access the AirPi AT Command interface on the COM port, a terminal application is required – here, I’ll use PuTTY. The default baud rate is 115200.
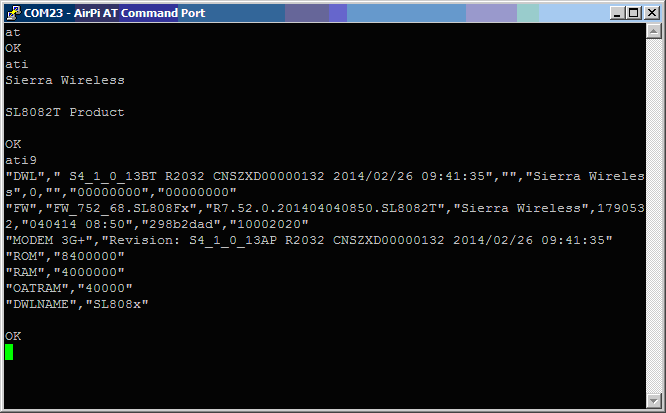
The first command to try with any modem is always “AT” – it should just reply with “OK“.
Another standard command is “ATI” – which should reply with some identification of the device.
The SL8082T supports the “ATI9” command, which gives some detailed information about the module – see the AT Commands Interface Guide for details.
This is how it all looks in the PuTTY screen:
A couple of other useful commands:
- AT+COPS? – requests the current network registration state, and the network operator name.
The reply is something like: +COPS 0,2,23430,2
In order, those numbers mean:
0 – the module is currently using automatic operator selection;
2 – the module is currently using numeric operator format;
23430 – the current network operator code, T-Mobile UK;
2 – the module is currently using 3G technology. - AT+CNUM – requests the telephone number of the SIM, if available.
Whether this actually gives a useful answer depends on the SIM – not all SIMs are configured for it.
When supported, the reply is something like: +CNUM: “”,”07xxxxxx103″,129
This means:
“” – if the number had a name associated with it, that would go here;
“07xxxxxx103” – the phone number (of course I’m not going to post it online!);
129 – the phone number is in National format (it’s a UK number).
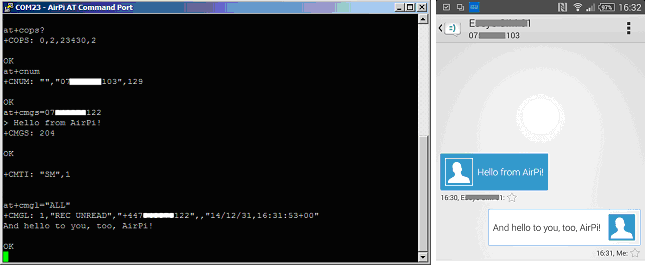
And now we can actually try sending & receiving a text message; on the left is the PuTTY screen for the AirPi, and my phone to the right:
Sending the text is done in three stages:
- at+cmgs=07******122 – tells the AirPi we want to send a text to the given phone number;
- When it’s ready to accept the body of the message, the AirPi gives a ‘>‘ prompt, and we can type away. Hit Ctrl+Z to finish the text entry and send the message;
- When the message has been successfully sent, the AirPi confirms with +CMGS: 204 and then OK
The number (204 here) is a reference which changes for each message.
As you can see in the phone screenshot, the message arrived, and I sent back a reply.
The AirPi indicates that a new text message has arrived with the +CMTI: “SM”,1 unsolicited response:
“SM” – indicates that the message has gone into SIM storage (the default);
1 – indicates that it is message number 1 in that storage.
AT+CMGL=”ALL” requests a list of all messages in the current default storage. The reply is:
+CMGL: 1,”REC UNREAD”,”+447******122″,,”14/12/31,16:31:53+00″
And hello to you, too, AirPi!
Which means:
1 – This is message number 1 in the store;
“REC UNREAD” – it’s a received message, and has not yet been read;
“+447******122” – the sender’s phone number;
,, – the phonebook name for the sender’s number would appear here, if available;
“14/12/31,16:31:53+00” – the date & time the message was sent.
And thus we have achieved the goal of sending & receiving text messages using the AirPi.
Q.E.F.
